I decided on a whim to buy a styrofoam form while checking out our new Hobby Lobby store that just opened. I had wanted to make a quilled ornament ball for a while, but didn’t want to make just a regular ball. Here was the perfect solution! 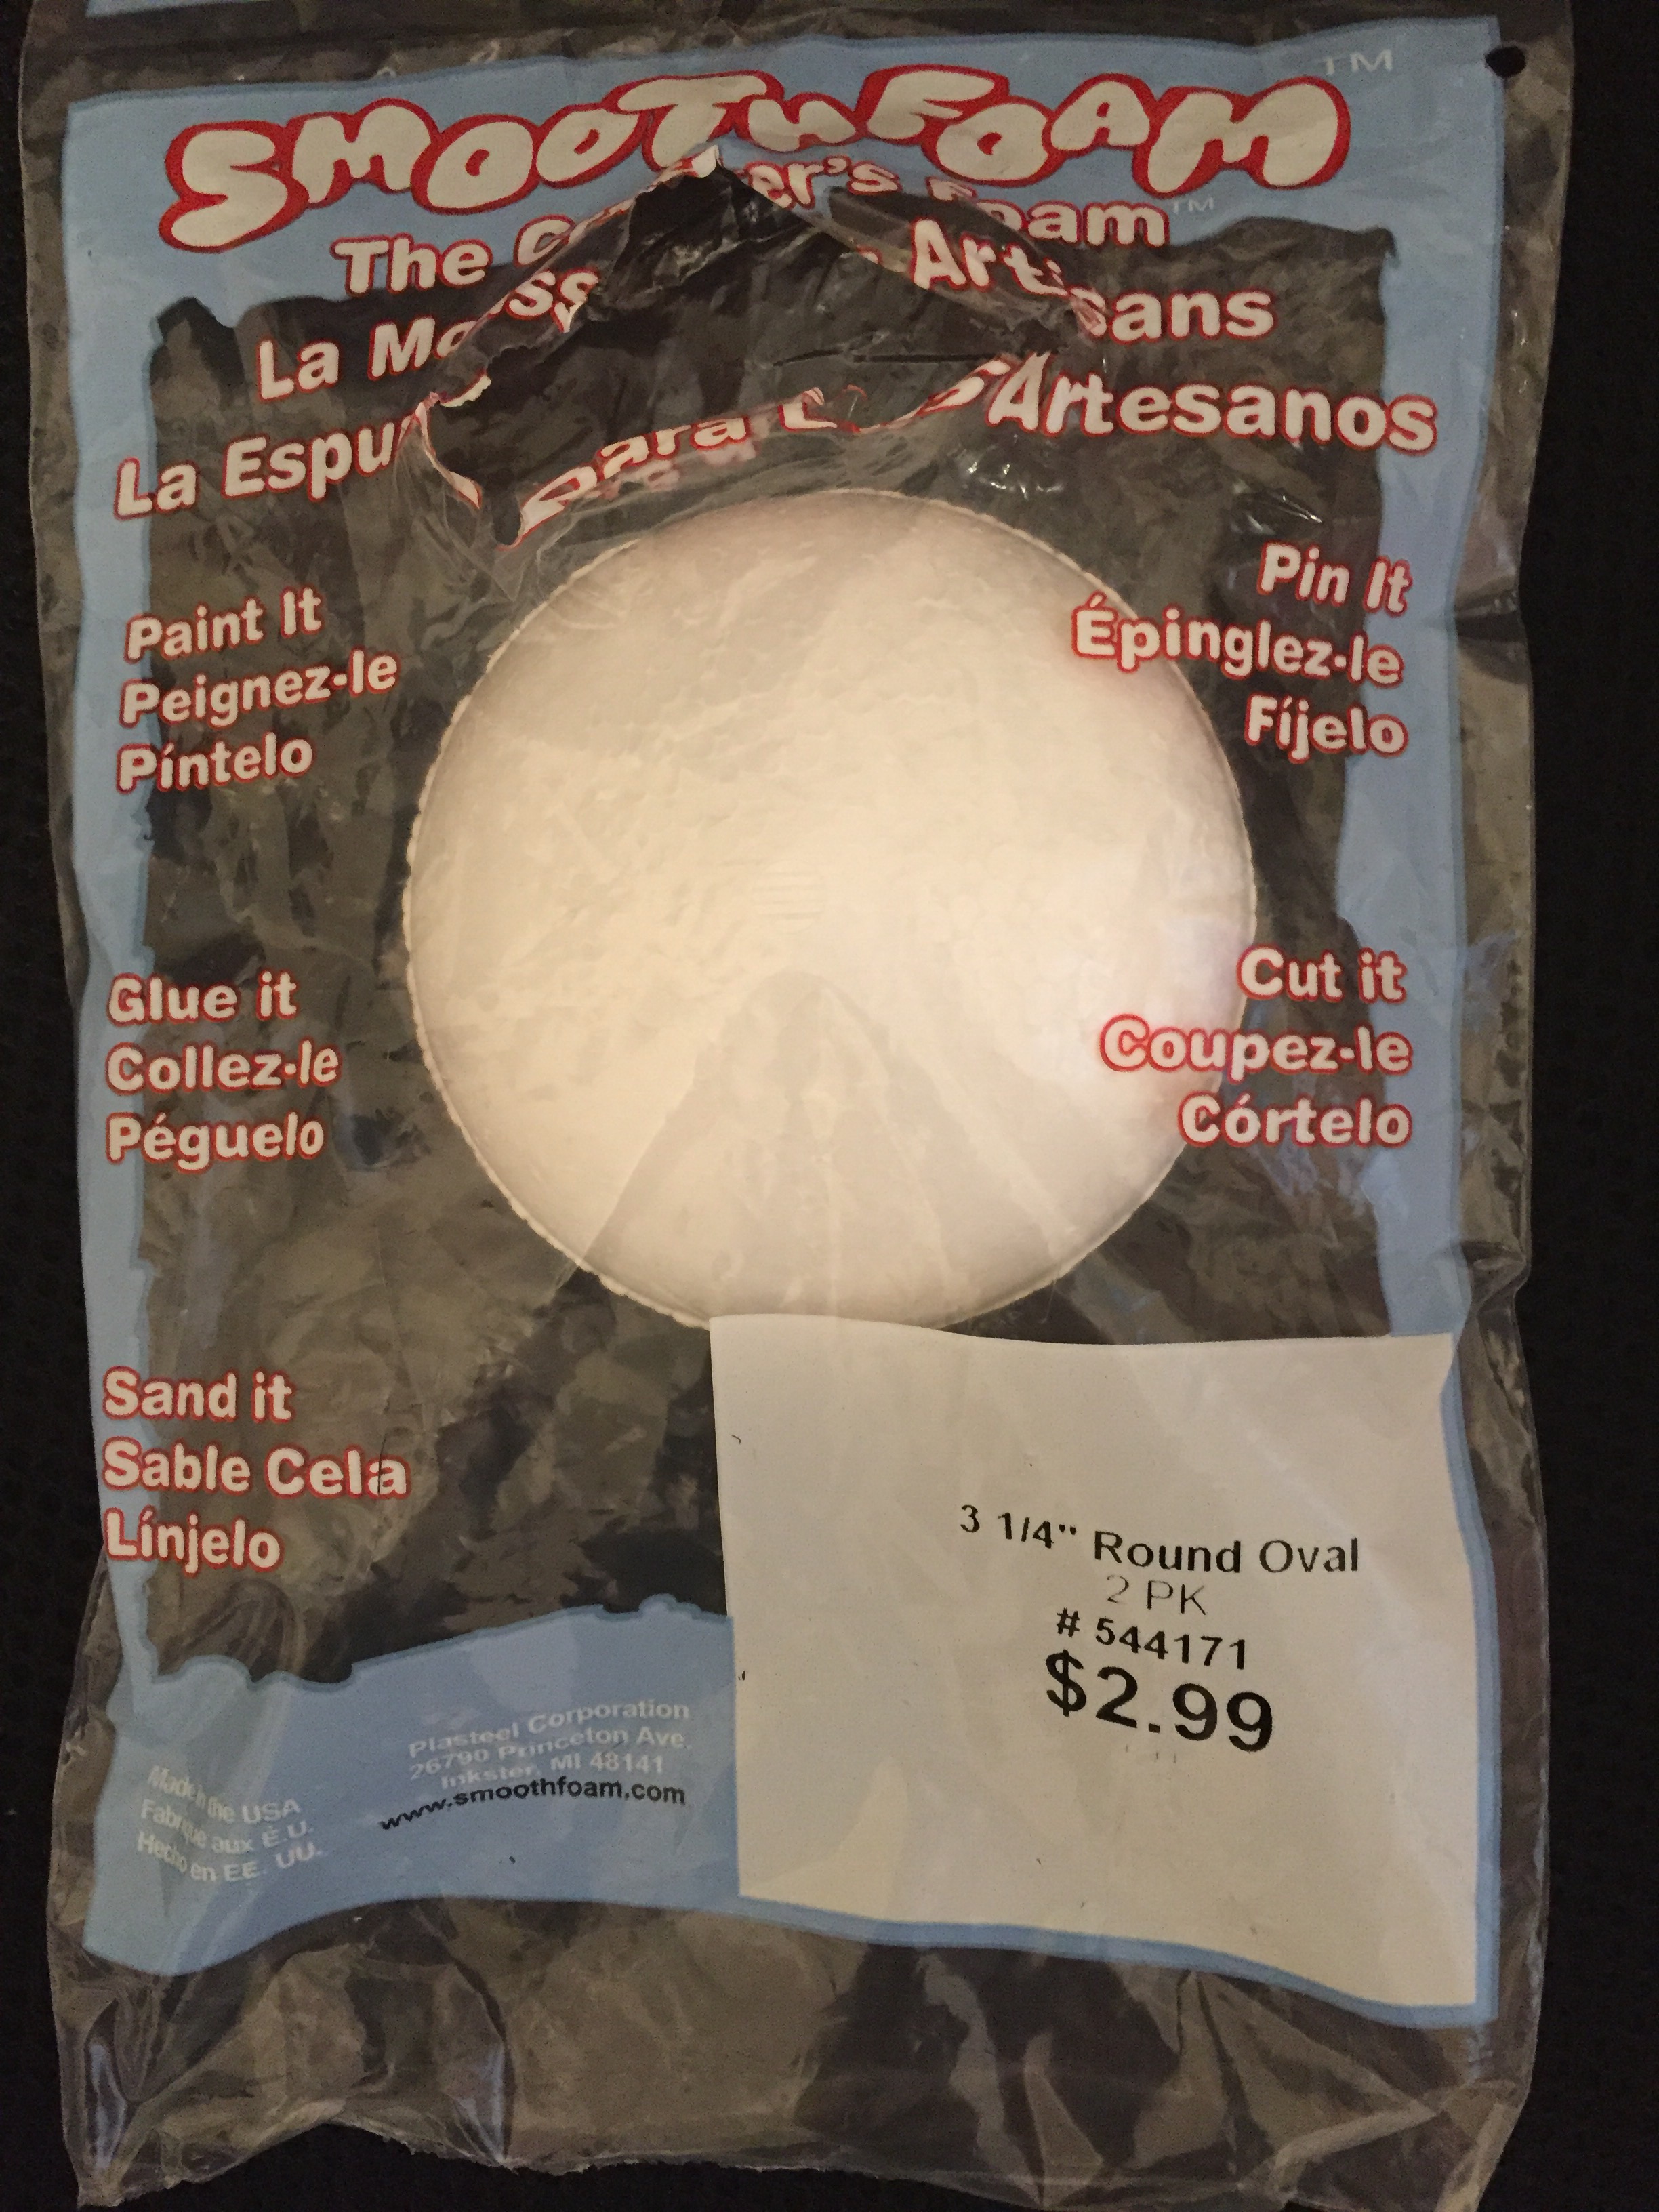
I started out by making my poinsettia first and pinning it onto the foam shape. Then I started with the gold edging around the side.

Once I had the edging and poinsettia in place, I could fill in with the white beehive technique.

Once I finished the first side, then I started the opposite side.
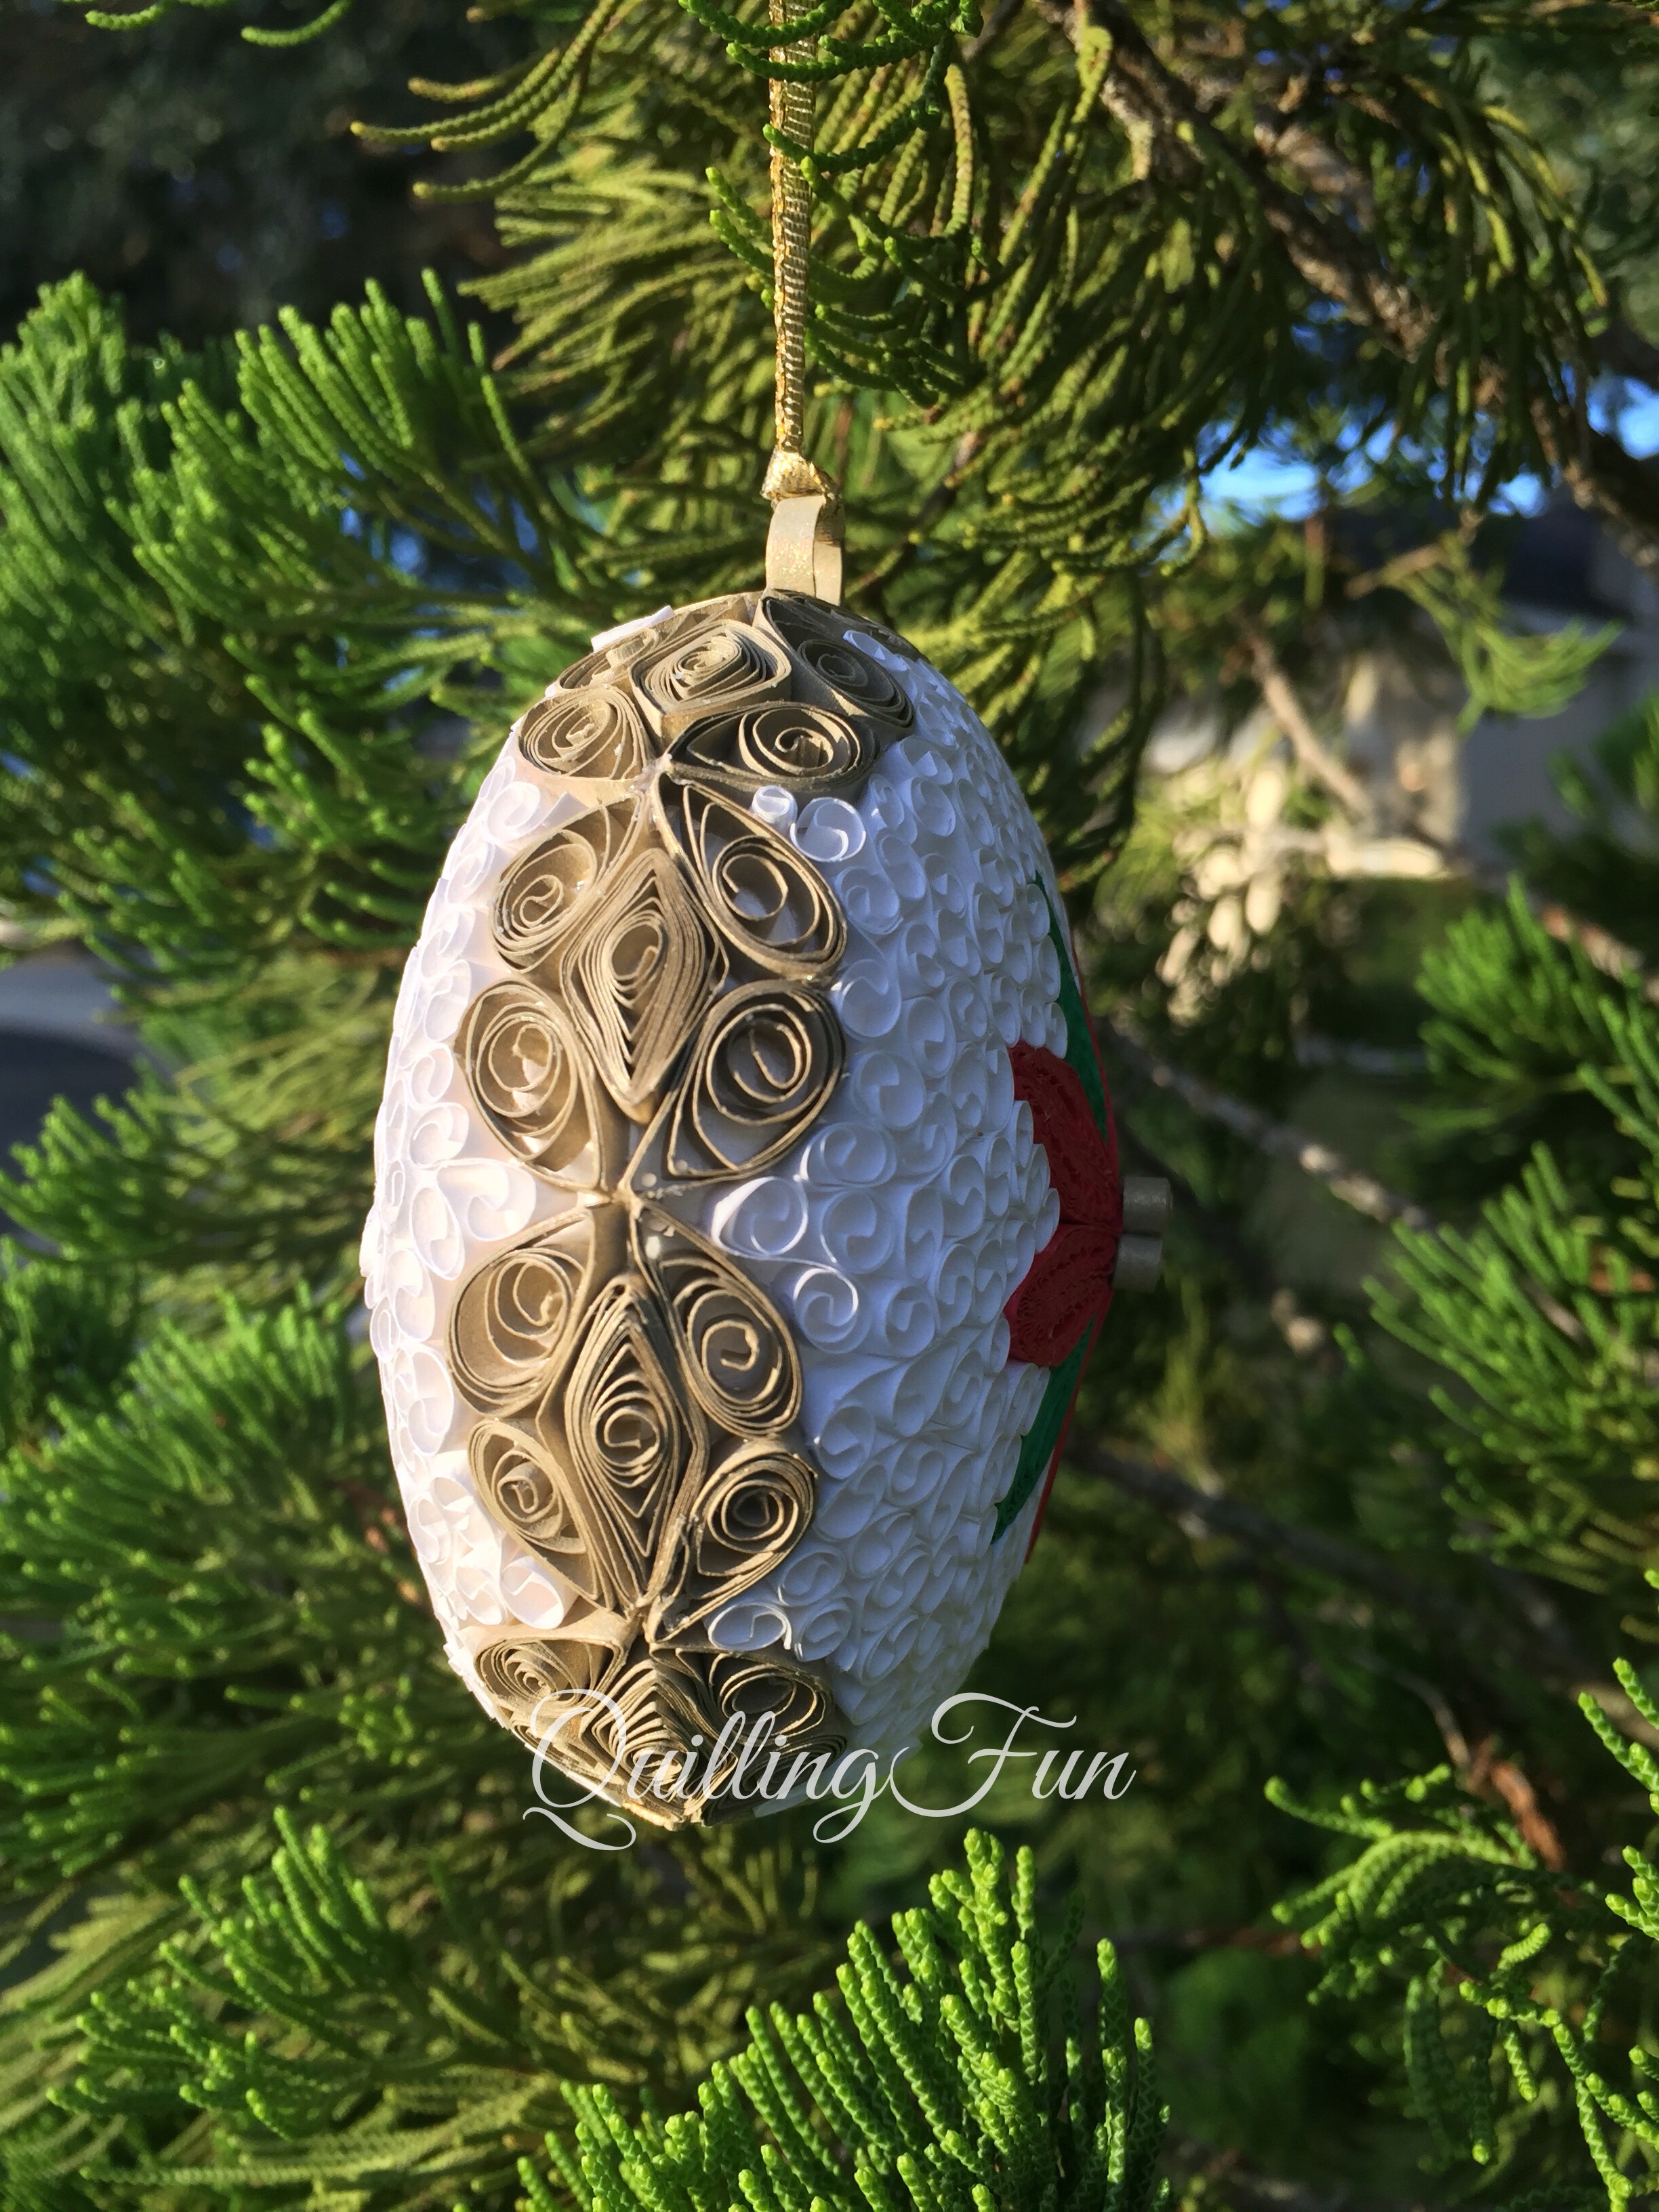
It took somewhere between 5-6 hrs to complete, but I must say well worth the time and experimentation to make!
Hope you enjoy!


Totally fabulous. Love it!
LikeLiked by 1 person
Thank you so much 😍 and thanks for stopping by!
LikeLiked by 1 person
I always try to keep an eye out for your amazing quilled work!
LikeLike
🙈 I’m blushing! You’re cards are amazing as well- even when you think they’re not 😜
LikeLiked by 1 person
It’s stunning !! you did a great job !
LikeLiked by 1 person
Thank you so much ❤️. It was a lot of work, but loved how it turned out… Thanks for visiting!
LikeLike
Oh my goodness…that is incredible!
LikeLiked by 1 person
Thank you so much! ☺️
LikeLike
Beautiful ornament! Have a Merry Christmas, Jennifer. 🙂
LikeLike
Wow! I love it! I just recently got started with quilling and now I’m hooked! Your work is very inspiring! 🙂
LikeLiked by 1 person
Aw! Thank you so much 😊. There’s a FB group you should join called Contemporary Quilling for newbies and pros….Can’t wait to see what you do….
LikeLiked by 1 person
I’d love to, but I’m not on FB. Maybe I will start my own blog just so I can post my projects!
LikeLiked by 1 person
We just started a blog that you can join,too…You can post your pics there in the forum and meets other quillers. 😊 It’s http://www.contemporary Quilling.org
LikeLiked by 1 person
Thanks!
LikeLiked by 1 person